The Creative Monster Guide to Fall Start
Hi there, Creative Monsters! It's me, your friendly blue pal, and guess what time it is? It's Fall Start, Week 23! The leaves are beginning their amazing color show, the air is getting wonderfully crisp, and it’s the perfect moment to capture some of that autumn magic right into our art studio (that's wherever you love to create!).
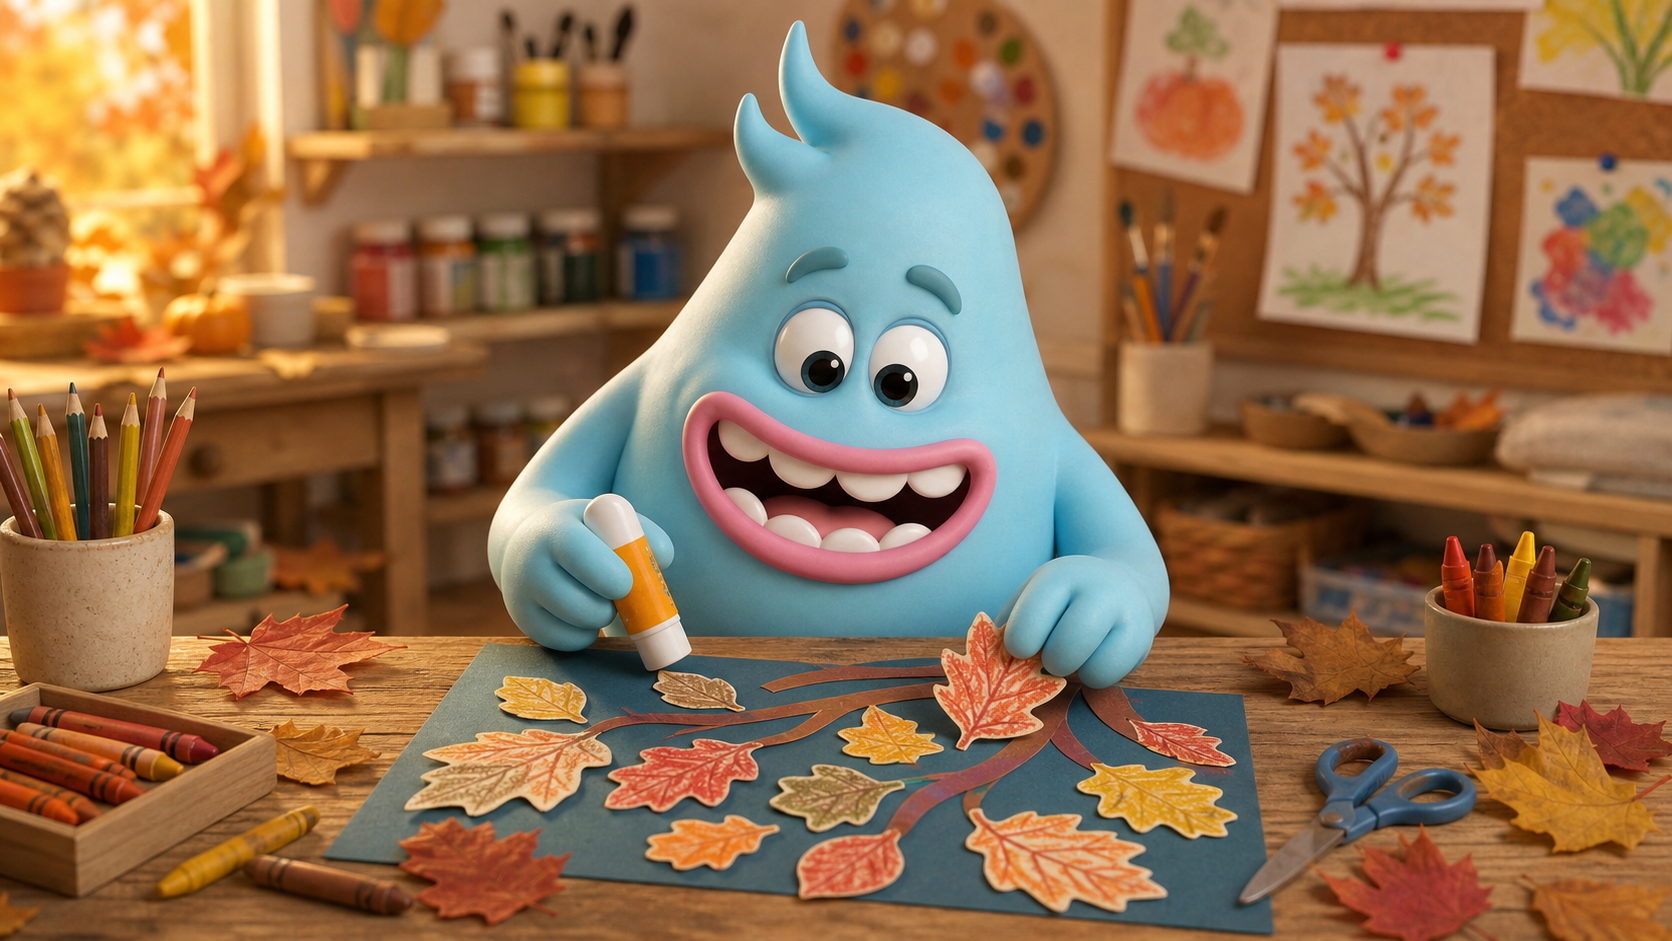
This week, we're going on an adventure to collect some natural treasures and turn them into a super cool Autumn Leaf Rubbing Collage! It's a fantastic way to explore textures, colors, and the beauty of nature all at once. Let's get our creative claws ready!
Materials Needed
Before we start our artistic journey, let's gather everything we'll need. Don't worry if you don't have everything exact; creativity is all about making do with what you have!
- Fallen Leaves: Go on a nature walk and collect a variety of flat, dry leaves in different shapes, sizes, and textures. Look for oak, maple, or even simple oval leaves!
- Paper: Several sheets of plain white printer paper or thin construction paper for the rubbings.
- Crayons: A box of crayons with the wrappers peeled off. It's important to have the flat side of the crayon exposed for rubbing! Make sure you have a variety of fall colors like reds, oranges, yellows, browns, and greens.
- Construction Paper (for background): One larger sheet of construction paper (like 9x12 or 12x18 inches) in a color like brown, blue, yellow, or even black, to be the background for your collage.
- Glue Stick or Liquid Glue: To attach your beautiful leaf rubbings to your background paper.
- Optional: Scissors (for cutting out rubbings), markers or colored pencils (for adding extra details like tree trunks or branches).
Step-by-Step Instructions
Ready to transform those lovely leaves into dazzling art? Follow these steps with me!
-
Go on a Leaf Hunt Adventure! First things first, let’s find our art supplies! Head outside with a grown-up and a small bag or basket. Look for fallen leaves that are flat, dry, and have interesting veins and shapes. The flatter the leaf, the better it will work for rubbing! Collect a good variety. Remember to only pick leaves that have already fallen to the ground.
-
Prepare Your Crayons: Once you’re back inside with your leafy treasures, it's time to get your crayons ready. Carefully peel the paper wrappers off a few of your favorite fall-colored crayons (red, orange, yellow, green, brown). We'll be using the side of the crayon, not the tip!
-
Time for the Magic Rubbing! Place one of your collected leaves on a hard, flat surface (like a table) with the bumpy, vein-filled side facing up. Now, put a piece of white paper over the leaf. Hold the paper very still with one hand. With your other hand, take a crayon (with the wrapper peeled off!) and gently rub the side of the crayon back and forth over where you think the leaf is underneath. Woosh! Watch as the amazing texture and shape of the leaf magically appear on your paper!
-
Make Many Rubbings! Try rubbing different leaves with different crayon colors. Experiment! What happens if you use a red crayon on a big maple leaf? What about a green crayon on a tiny oak leaf? The more rubbings you make, the more colorful and textured your collage will be. You can even layer colors on one rubbing!
-
Cut Out Your Leaf Art (Optional): Once you have a collection of fantastic leaf rubbings, you can choose to carefully cut them out around their shapes. Or, you can leave them on the paper squares for a different look! It's your creative choice!
-
Create Your Collage Background: Take your larger sheet of construction paper. This will be the sky or ground for your fall scene. What color will you choose?
-
Arrange and Glue Your Masterpiece! Now for the fun part: arranging your leaf rubbings! Before you glue anything down, try placing your cut-out leaf rubbings (or paper squares with rubbings) onto your background paper. You could arrange them to look like leaves falling from a tree, a pile of leaves on the ground, or even create an abstract pattern of fall colors. Once you're happy with your arrangement, use your glue stick or liquid glue to carefully stick them down onto your background paper.
-
Add Finishing Touches (Optional): If you'd like, you can use markers or colored pencils to add extra details to your collage. Maybe draw a brown tree trunk and branches for your leaves to fall from, or draw some little monsters playing in the leaves!
Hooray! Look at your amazing fall masterpiece! Every leaf and every color tells a story, and you, my Creative Monster, are the brilliant storyteller. Don't forget to share your creations with me – I love seeing your art! Keep exploring and keep creating!
Ready for another adventure?
Back to Creation Station