Creation Station
The Creative Monster Guide to Back to School
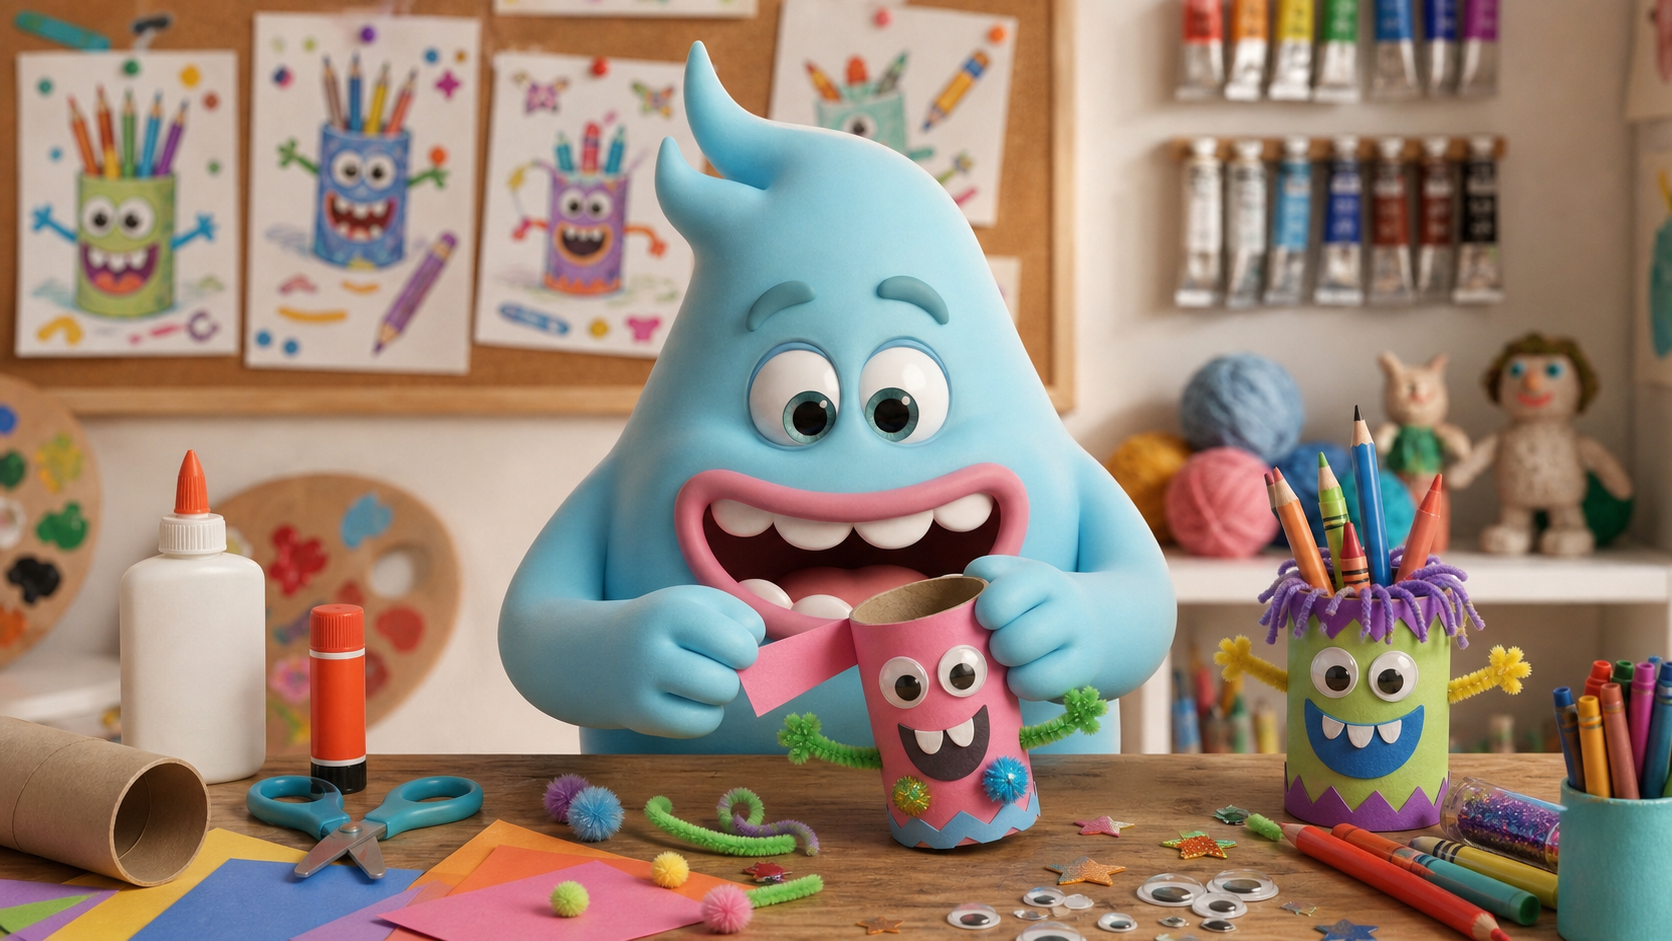
Hooooray, creative monsters! Bloo here, and can you believe it’s almost back-to-school time again? Don't let those school jitters turn into monster mumbles – let's make getting organized super fun and super creative! This week, we're going to transform a simple little roll into a fantastic desk buddy that will help keep your pencils, markers, and crayons neat and tidy. Get ready to unleash your inner artist and make a "Monster-ific Desk Buddy Pencil Holder" that's as unique as you are!
Materials Needed
- 1 empty toilet paper roll (or a paper towel roll cut in half)
- Construction paper (various bright colors!)
- Glue stick or white school glue
- Safety scissors (ask a grown-up for help if you need it!)
- Markers, crayons, or colored pencils
- Fun decorations like: googly eyes, stickers, pipe cleaners, pom-poms, yarn scraps, glitter (optional, but monster-tastic!)
Step-by-Step Instructions
- Gather Your Monster-Making Gear! First things first, lay out all your materials on a clean, flat surface. Make sure you have plenty of space for your creative monster magic to happen!
- Pick Your Power Color! Choose a piece of construction paper that will be the main, super-awesome color of your desk buddy. This is like choosing the fur color for your new Fig!
- Wrap It Up! Place your toilet paper roll on its side at one end of your chosen construction paper. Roll it across the paper, making a little mark where the paper completes one full rotation around the roll. Carefully cut the paper to that length. Now, measure the height of your toilet paper roll and cut the paper to that height as well. Bloo's Helper Hint: Grown-ups are great at helping with cutting straight lines!
- Glue-tastic Cover! Spread a good layer of glue all over one side of your cut construction paper. Now, carefully wrap it around your toilet paper roll, making sure the edges meet. Press down firmly and smooth out any bumps or bubbles to make sure it sticks super well. Hooray! Your Fig has a colorful new skin!
- Let the Monster-fication Begin! This is where the real fun starts! Use your markers, crayons, or colored pencils to draw a cheerful face – happy eyes, a big grin, maybe even some silly monster teeth! Draw patterns, stars, zigzags, squiggles, or even write your name all over your Fig. Let your imagination go wild!
- Accessorize Your Awesome! Time to give your Fig some extra flair! Stick on some wobbly googly eyes, glue on fluffy pom-poms for hair, or twist pipe cleaners into funny arms or antennas. You can even add yarn scraps for a shaggy look or sprinkle on a little glitter for extra sparkle (if your grown-up says it’s okay!).
- Dry Time & Desk Debut! Once you're happy with your magnificent Fig, set it aside to dry completely. Make sure all the glue is dry before you move it. When it's ready, find the perfect spot on your desk or study area and fill it with your favorite pencils, crayons, or markers. You've just made an awesome new Fig for your school supplies!
Now you have a super personalized, monster-ific way to keep your desk tidy and bright! Give yourself a big creative monster roar for a job well done!
Ready for another adventure?
Back to Creation Station