The Creative Monster Guide to Back to School
ROOAARRR-some news, little monsters! It’s that time of year again when backpacks are ready, new books are waiting, and our brains are buzzing with excitement for learning. And you know what that means for us Creative Monsters? It's time to make our school supplies as colorful and unique as YOU are! This week, your pal, Fig, is here to help you get super organized and super creative with a project that will make your desk the happiest place to learn.
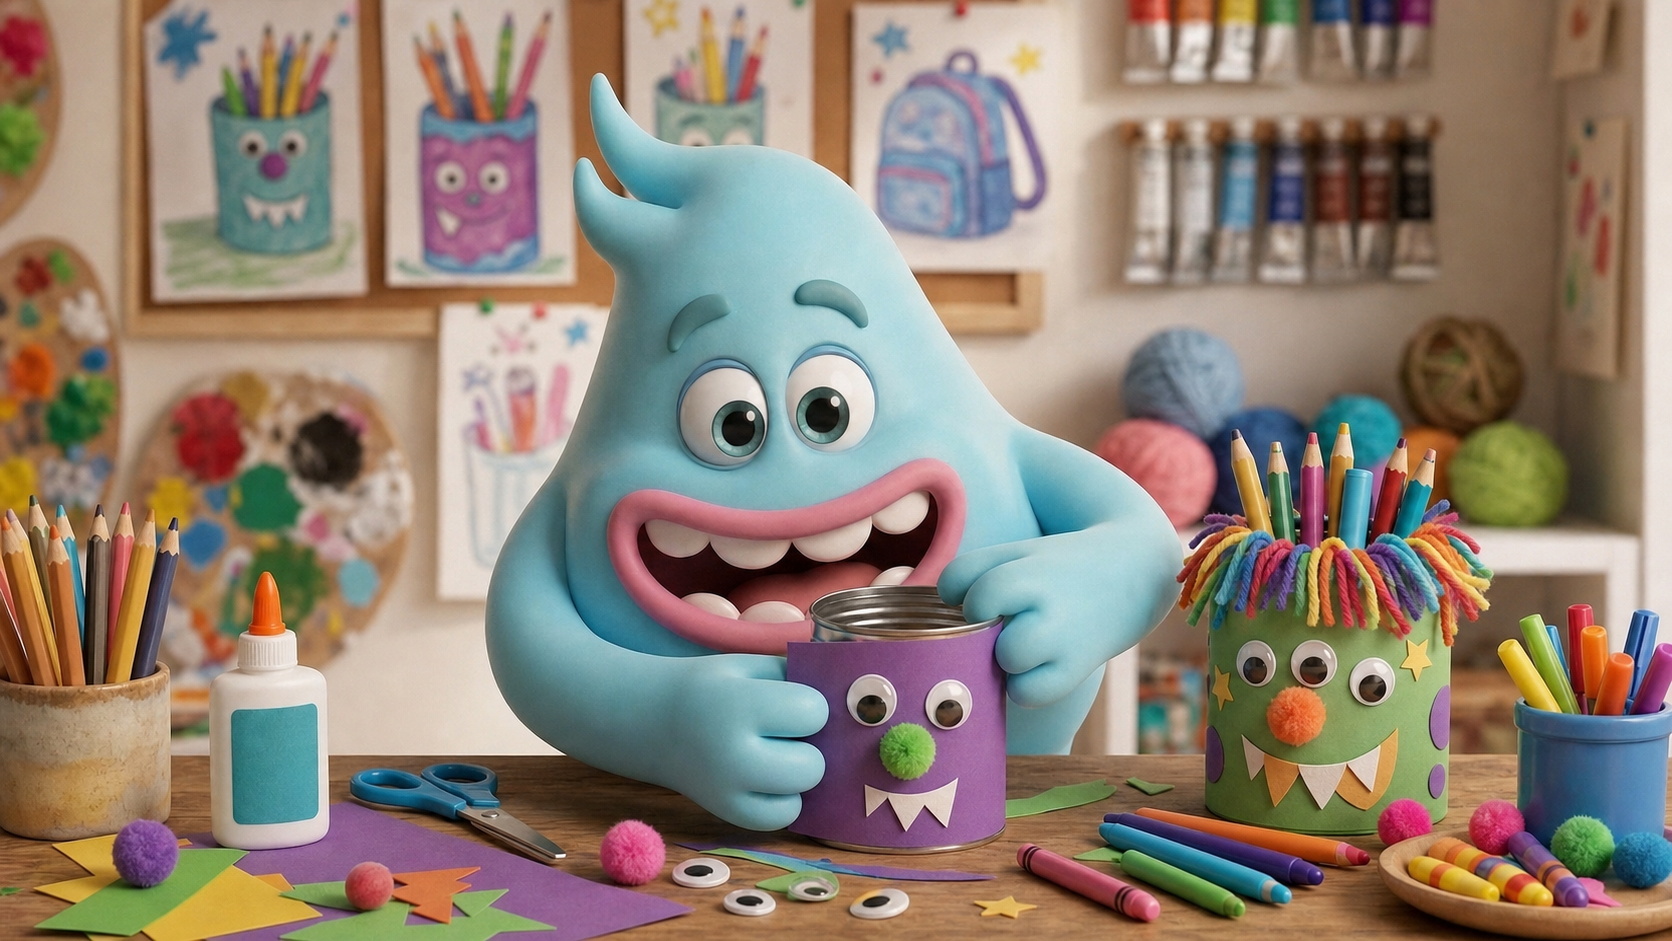
Instead of just stuffing all your pencils into a plain old cup, let’s turn a simple tin can into a personalized, monster-tastic pencil holder! It’s easy, fun, and makes your workspace look awesome.
Materials Needed
Before we start our creative adventure, gather these treasures:
- One empty, clean tin can: Ask a grown-up to help you find one! A soup can or a veggie can works perfectly. Make SURE the edges are smooth and safe for little paws!
- Colorful construction paper or craft paper: Pick your favorite colors! You'll need enough to wrap around your can.
- Glue stick or craft glue: To make everything stick together like a monster hug!
- Kid-safe scissors: For snipping and shaping.
- Your favorite art supplies for decorating: This is where the magic happens! Think markers, crayons, colored pencils, glitter, stickers, googly eyes, yarn, pom-poms – anything that makes you happy!
- Optional: Clear sealant spray (ask a grown-up to help with this at the very end to protect your masterpiece!)
Step-by-Step Instructions
Alright, little artists, let’s get those creative claws moving!
- Prep Your Can: First, make sure your tin can is super clean and dry. Give it a good rinse and let it air dry completely. And remember our safety note – double-check those edges with a grown-up! We want smooth edges for happy creative time.
- Measure and Cut Your Paper Wrap: Take your chosen construction paper and place your can on its side. Roll the can along the paper, marking the height and circumference (how far around it goes) of the can. You’ll want a rectangle of paper that is just tall enough to cover the outside of your can and long enough to wrap all the way around, with a little overlap for gluing. Use your scissors to carefully cut out this paper rectangle.
- Glue It On! Apply a generous amount of glue stick or craft glue all over one side of your paper rectangle. Now, carefully wrap the paper around your tin can, starting from one edge and smoothing it down as you go. Make sure there are no bubbles! Overlap the edges slightly and press firmly to secure.
- Time to Decorate! This is where your monster-mind shines! Grab all your favorite art supplies.
- Want a stripes monster? Draw colorful stripes!
- How about a polka-dot monster? Stick on colorful dots or draw them!
- Maybe your pencil holder needs a friendly monster face? Add googly eyes, draw a big smile, and stick on some yarn for crazy hair!
- Write your name, draw pictures of your favorite school subjects, or cover it in glitter (glitter is always a good idea!).
- Let your imagination run wild! There are no mistakes in monster art!
- Let It Dry: Once you’ve finished decorating your amazing pencil holder, find a safe spot for it to dry completely. If you used lots of glue or glitter, this might take a little while. Be patient, little monster! If using sealant spray, have a grown-up apply it in a well-ventilated area once the decorations are dry, then let it dry again.
- Fill It Up! Once everything is dry, your personalized, monster-tastic pencil holder is ready for action! Gather all your pencils, pens, markers, and even your trusty eraser, and give them a happy new home.
ROOOARRR-some job, little monsters! Now your desk is ready for a super creative school year. What did YOUR pencil holder look like? Share a picture with us using #CreativeMonstersArt! Keep those creative claws busy!
Ready for another adventure?
Back to Creation Station