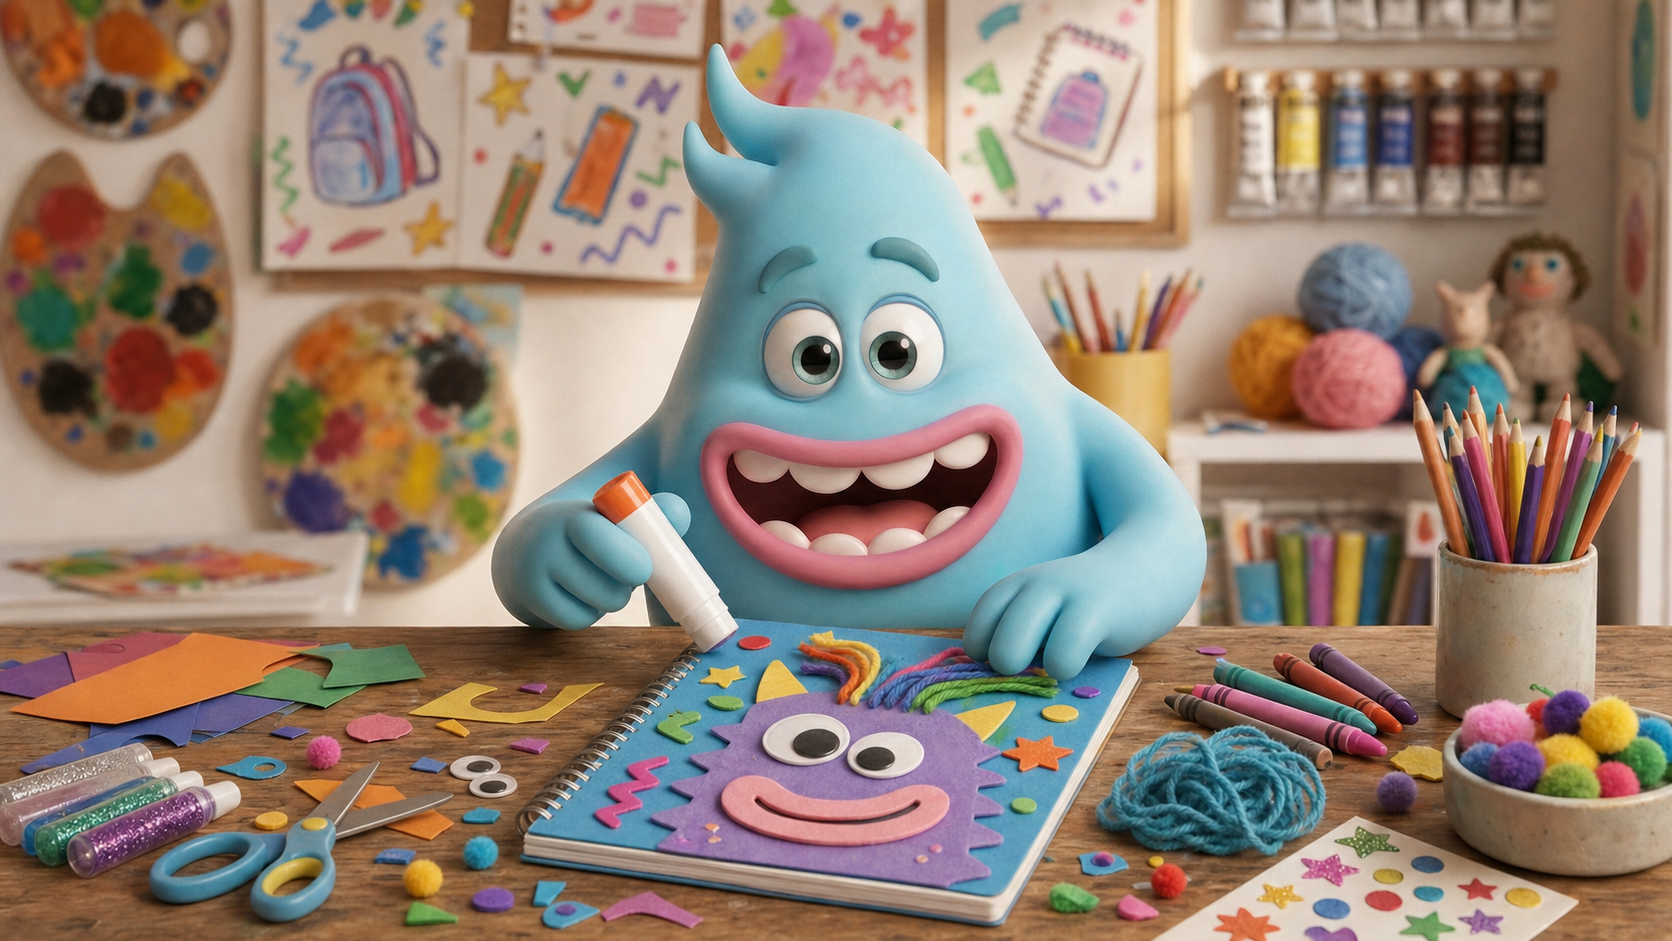
The Creative Monster Guide to Back to School
Hey there, amazing artists! It's me, Fig, your favorite blue art monster, and can you believe it? Back to school is peeking just around the corner! But before we fill our backpacks with pencils and books, let's add a BIG splash of YOU-nique creativity to our supplies. This week, we're going to transform a plain notebook into a super-duper, monster-iffic creation that will make every school day brighter! Ready to make your mark? Let's dive in!
Materials Needed
To make your very own "My Super-Duper Back-to-School Notebook," gather these creative goodies:
- One plain notebook (spiral-bound or composition notebook works great!)
- Construction paper in a variety of your favorite colors
- Scissors (kid-safe, blunt-tipped are best!)
- Glue stick or white school glue
- Markers, crayons, or colored pencils
- Optional: Glitter glue, stickers, googly eyes, yarn scraps, or fabric pieces for extra monster flair!
Step-by-Step Instructions
Follow these simple steps to bring your notebook to life! Remember, there's no right or wrong way – just your way!
- Meet Your Notebook! First, take a good look at your plain notebook. What colors do you love? What makes you happy? Think about what kind of monster, animal, or wild pattern you'd like to see on your cover! Maybe a smiling blob monster, a stripey zig-zag pattern, or a starry night sky?
- Sketch Your Super Idea (Optional): If you like, you can lightly sketch out some ideas directly onto your notebook cover with a pencil. This helps you plan where everything will go!
- Cut Out Colorful Shapes: Grab your construction paper! This is where the magic begins.
- Background: Do you want a new background color? Cut a piece of construction paper to fit the entire front cover of your notebook and glue it down first.
- Shapes & Details: Now, cut out all sorts of fun shapes! Big circles for eyes, wiggly lines for a monster's mouth, squares for teeth, stars, hearts, or even letters for your name! Be brave with your scissors, little monster!
- Glue It All Down! Once you have your awesome shapes, it's time to glue them onto your notebook cover. Use your glue stick or a small dot of white glue for each piece. Press them down firmly so they stick really well. Don't be afraid to layer shapes to create cool effects! Maybe a small yellow circle for an eye on top of a big blue monster body?
- Add Your Monster-iffic Details: Now for the fun part – details!
- Use your markers, crayons, or colored pencils to draw faces, patterns, stripes, dots, or your name on your glued shapes.
- If you have googly eyes, glue them on now to make your monster creation stare back at you!
- Want some sparkle? Add glitter glue! Just squeeze a little bit on and let it dry.
- Got yarn? Cut small pieces and glue them on for fuzzy monster hair!
- Let It Dry and Show It Off! Once you're happy with your creative masterpiece, set your notebook aside in a safe spot to dry completely. This might take a little while, especially if you used a lot of glue or glitter.
- Ready for Adventure! Ta-da! You've just created a one-of-a-kind notebook that's bursting with your unique creativity. Every time you open it for school, you'll have a special reminder of the amazing artist you are!
Share your fantastic notebooks with us using #CreativeMonsters and #BackToSchoolArt! I can't wait to see all your incredible creations! Keep on creating, you magnificent monsters!
Ready for another adventure?
Back to Creation Station