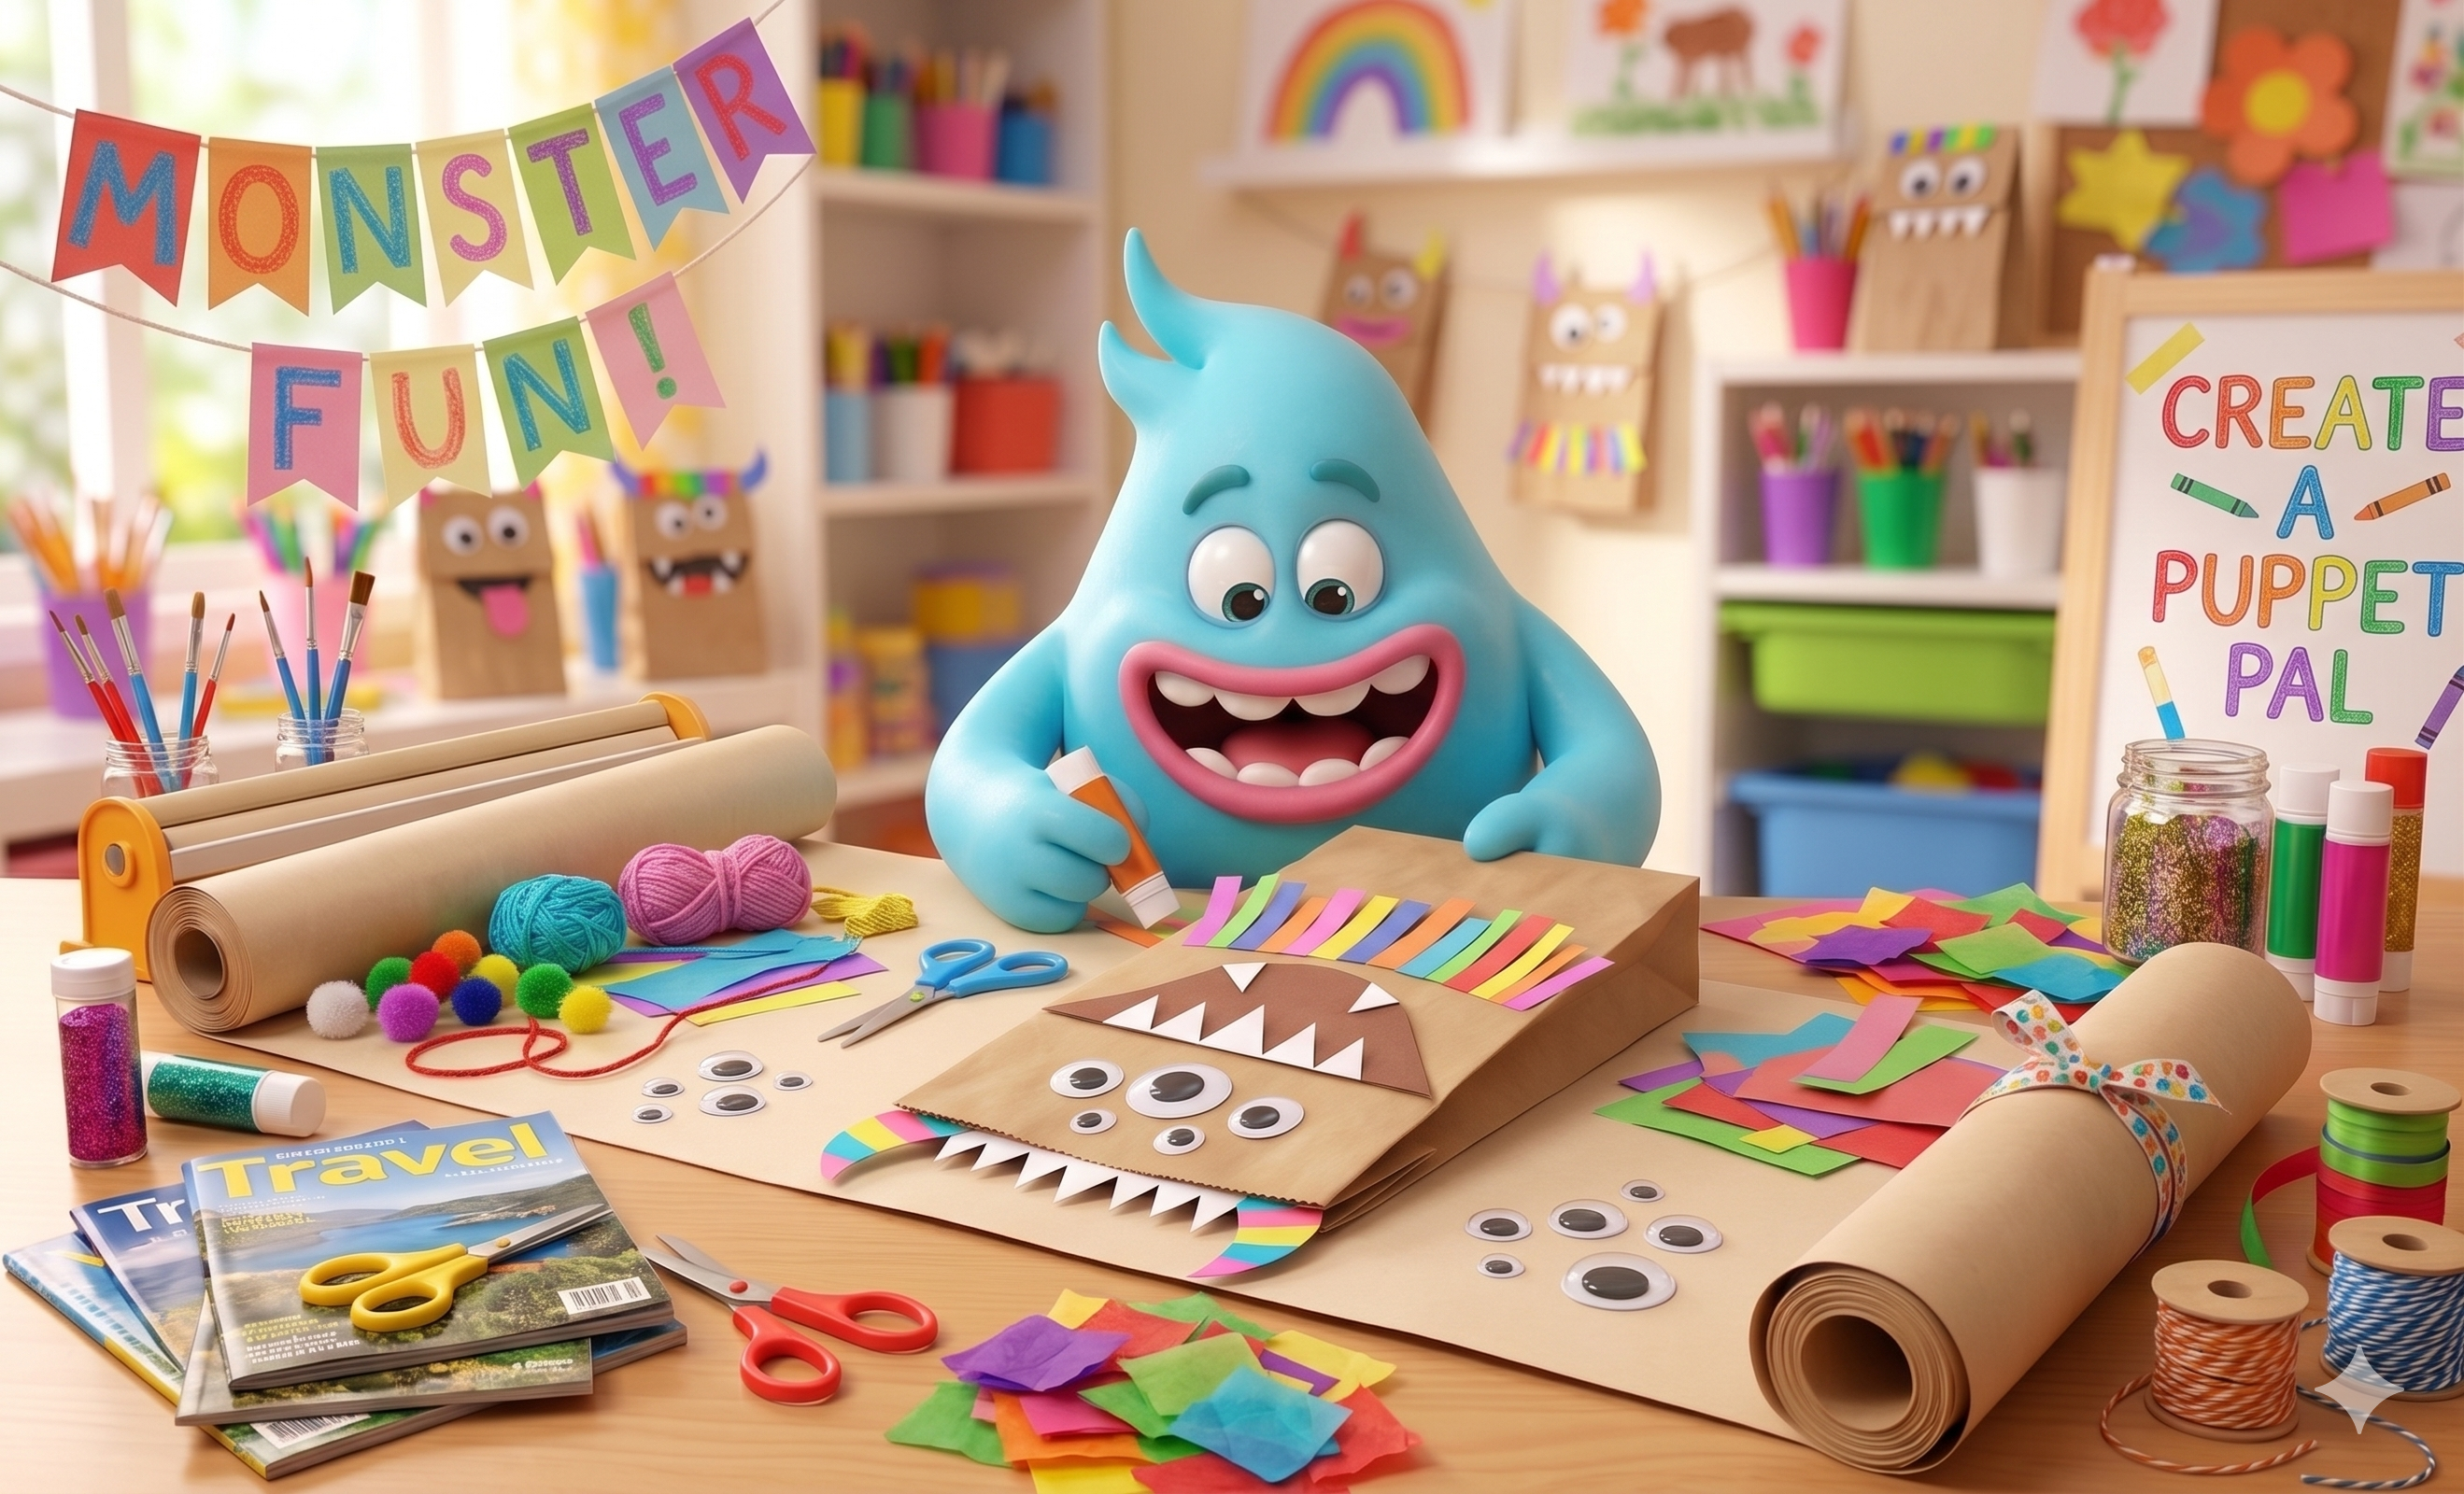
Sparking Creativity with Monster Fun
Hey there, little monsters! Fig here, ready to rumble and tumble into some super fun art! This week, we're going to use our incredible imaginations to bring a brand-new friend to life. Get ready to create your very own Friendly Paper Bag Monster Puppet! It's going to be so much fun watching your new pal wiggle and giggle.
Materials Needed
- 1 brown paper lunch bag (the kind without handles)
- Construction paper in various bright colors (red, blue, green, purple – whatever makes your monster happy!)
- Googly eyes (various sizes are super fun!)
- Glue stick or school glue
- Kid-safe scissors
- Markers, crayons, or colored pencils
- Optional: Yarn, pipe cleaners, pom-poms, glitter glue, or fabric scraps for extra monster pizzazz!
Step-by-Step Instructions
-
Meet Your Monster's Mouth: Grab your brown paper lunch bag. Lay it flat with the bottom flap facing up. This flap is going to be your monster's mouth! Carefully fold the bottom of the bag up along that crease. This creates the "jaw" for your puppet.
-
Decorate Your Monster's Body: Now for the fun part – making your monster unique! Turn the bag over so the folded flap is on the side you want to be the "top" of the mouth. Use your markers, crayons, or colored pencils to draw patterns, stripes, spots, or any cool design all over the main part of the bag. This is your monster's body! Maybe it has polka dots, rainbow fur, or a sparkly tummy!
-
Craft Those Monster Features: Time to give your monster some personality!
- Teeth: From white construction paper, cut out triangles, rectangles, or even wiggly shapes for teeth. Will your monster have tiny little nibblers or big friendly chompers?
- Horns, Ears, or Antennas: Use colored construction paper to cut out shapes for horns, silly ears, or bouncy antennas. Maybe long and pointy, or short and round!
- Hair/Fur: Cut strips of construction paper, yarn, or even fabric scraps for wild hair or fuzzy fur.
- Spots/Patches: Cut out circles, squares, or star shapes in different colors to make colorful spots or patches for your monster.
-
Googly Eye Time! This is where your monster really starts to come alive! Peel the backing off your googly eyes (or put a dab of glue on the back) and stick them on the top flap of your bag, above where the mouth will be. Will your monster have two big eyes, three small ones, or even just one giant cyclops eye? No monster is too silly!
-
Assemble Your Monster Pal: Now, let's put all those wonderful features together!
- Carefully open the folded mouth flap and glue the "teeth" along the inside edge.
- Glue your horns, ears, or antennas to the top edge of the bag.
- Stick on any hair, fur, or extra spots you created.
- If you have any optional supplies like pom-poms or pipe cleaners, now's the time to add them! Pipe cleaners make great bendy arms or silly antennae!
-
Let It Dry & Play! Once everything is glued in place, let your monster puppet sit for a bit to dry completely. Then, slip your hand inside the bag, with your thumb in the bottom flap (the mouth) and your fingers in the top. Make your new monster friend talk, sing, or even give a friendly roar!
We can't wait to see all the amazing monster friends you create! Share your monster's adventures with us. Keep crafting, little monsters!
Ready for another adventure?
Back to Creation Station