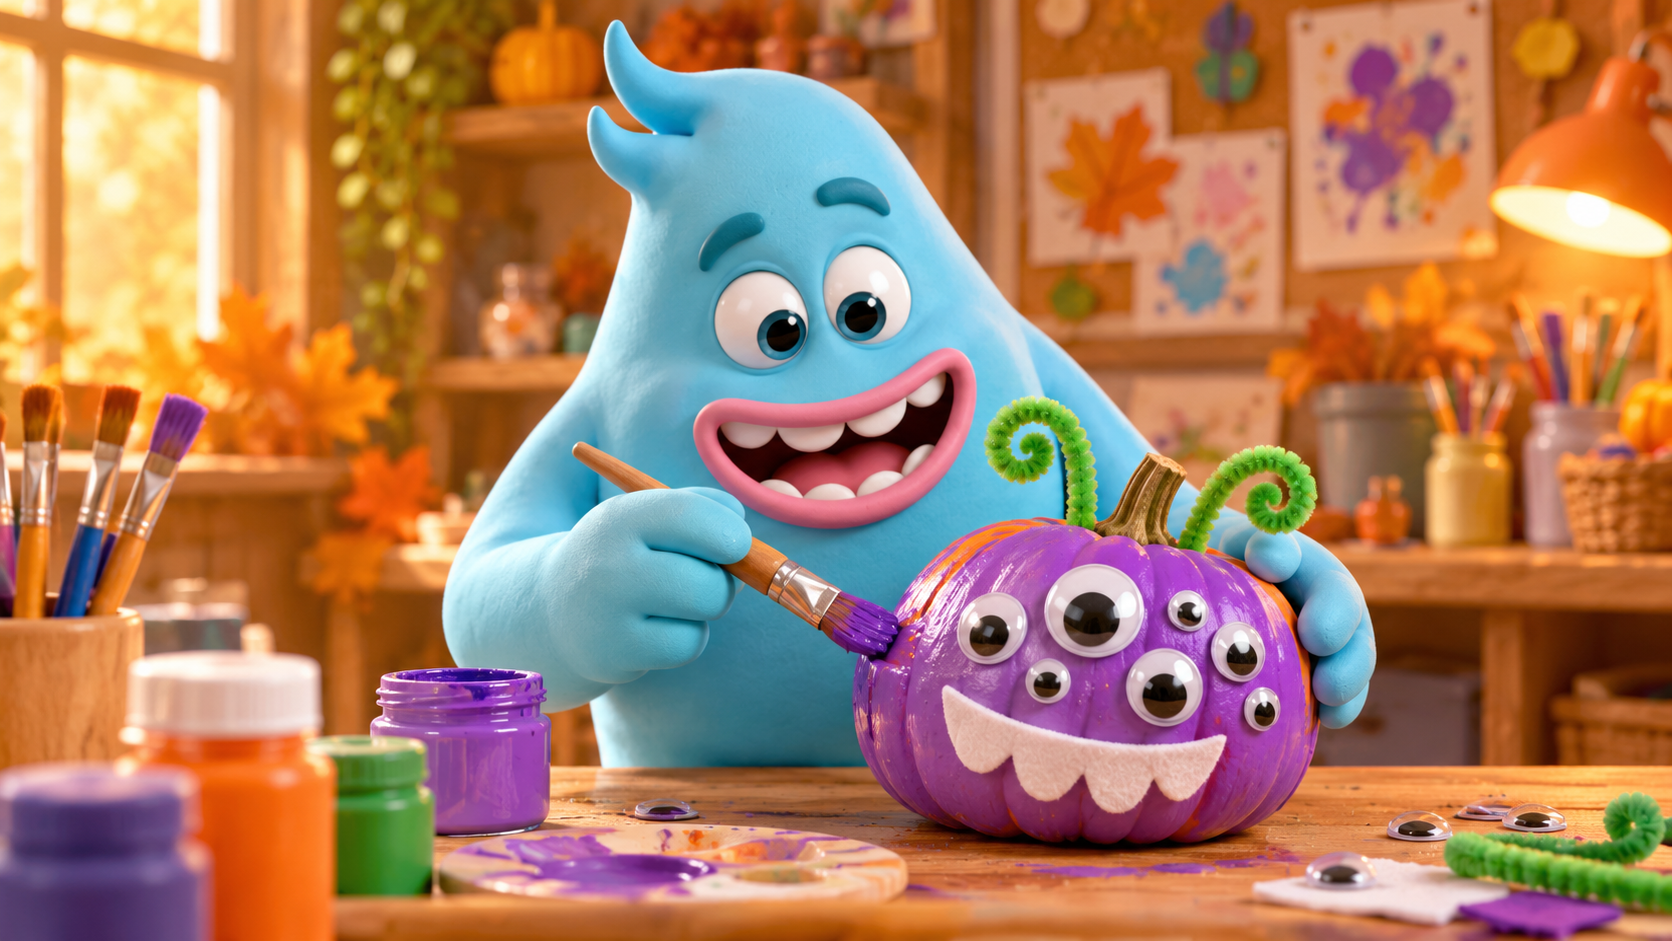
Pumpkin Monsters: A Creative Guide
Hey there, mini-monsters and creative explorers! I'm Fig, your blue monster pal, and I'm bubbling with excitement because spooky season is here! And what better way to celebrate than by turning ordinary pumpkins into extraordinary, friendly (or funny scary!) Pumpkin Monsters? Forget carving – we're going to paint, stick, and create some truly unique creatures that will guard your doorstep with ghoulish glee! Get ready to unleash your inner monster artist!
Materials Needed
To bring your Pumpkin Monster to life, gather these super fun supplies:
- Small Pumpkins: Real mini pumpkins or craft foam/plastic pumpkins work perfectly! (No sharp carving needed!)
- Acrylic Paints: Choose a few monster-tastic colors like green, purple, black, white, orange, or even sparkly glitter paint!
- Paintbrushes: Different sizes are great for big coats and tiny details.
- Googly Eyes: The more, the merrier! Big ones, small ones, multi-colored ones!
- Craft Glue: White school glue or a craft tacky glue works best for sticking.
- Construction Paper or Felt Scraps: In various colors for cutting out mouths, teeth, horns, or ears.
- Pipe Cleaners/Chenille Stems: For crazy antennae, curly hair, or bendy arms.
- Kid-Safe Scissors: For cutting paper and felt.
- Newspaper or a Plastic Tablecloth: To protect your table from monster-making messes.
- Optional Fun Stuff: Pom-poms, yarn, glitter, permanent markers, cotton balls, or anything else you think a monster might need!
Step-by-Step Instructions
Ready to make some monster magic? Follow these simple steps with your monster pal:
- Set Up Your Monster Lab: First, spread out your newspaper or tablecloth to keep your creative space clean. Arrange all your materials so they're easy to reach.
- Give Your Pumpkin a Base Coat: Pick your favorite monster color! Paint your entire pumpkin with a base color. Will it be a slimy green monster, a spooky purple creature, or a shimmering orange beast? Cover it completely and let it dry thoroughly. This might take a little while, so maybe dance a monster mash while you wait! (You might need a second coat for really vibrant color.)
- Eye See You!: Once your pumpkin's base color is dry, it's time for the eyes! Squeeze a little craft glue onto the back of your googly eyes and press them firmly onto your pumpkin. Give your monster one eye, two eyes, or even ten eyes – remember, monsters come in all shapes and eye counts!
- Craft a Mighty Mouth (and More!): Grab your construction paper or felt scraps. What kind of mouth does your monster have? A big toothy grin? A tiny 'o' surprise? Cut out your desired mouth shape, sharp teeth, silly tongue, or even fangs! Glue them onto your pumpkin. This is also the perfect time to add any paper/felt horns, ears, or spots.
- Wild Hair and Wacky Arms: Time for some texture! Bend and twist pipe cleaners into crazy antennae, curly hair, or funny arms. Use a dab of glue to attach them to your pumpkin. You can also glue on bits of yarn for shaggy hair, or pom-poms for bumpy skin.
- Add Monstrous Details: Is your monster missing anything? Maybe some painted stripes, polka dots, or swirling patterns? Use a smaller paintbrush to add these extra details. If you're using glitter, sprinkle it over wet glue for a sparkly touch!
- Let Your Monster Rest: Once you've added all your fantastic features, let your Pumpkin Monster dry completely. This is important to make sure all the pieces stay put!
- Display Your Masterpiece: Find the perfect spot for your new Pumpkin Monster to show off its spooky (but friendly!) charm! On a windowsill, a shelf, or by the front door – your creation will bring smiles.
See how easy that was? Every Pumpkin Monster is unique, just like you! I can't wait to see all your amazing creations. Share them with us using #CreativeMonstersPumpkinPal! Happy monster-making!
Ready for another adventure?
Back to Creation Station