Earth Day Art: Turning Recyclables into Monsters
Hey there, little creative monsters! It's Fig, your friendly blue art guide, back again! Earth Day is coming up, and that means it's time to celebrate our amazing planet by getting super creative with things we usually toss away. Today, we're going on an adventure to transform forgotten recyclables into brand new, wacky, wonderful monsters! It's like giving old stuff a new, sparkly life, and that's a super cool way to help our Earth. Are you ready to dive into a pile of possibilities and create your very own recycled monster friend? Let's get started!
Materials Needed
To build your unique recycled monster, you'll want to gather some of these everyday treasures:
- Recyclables:
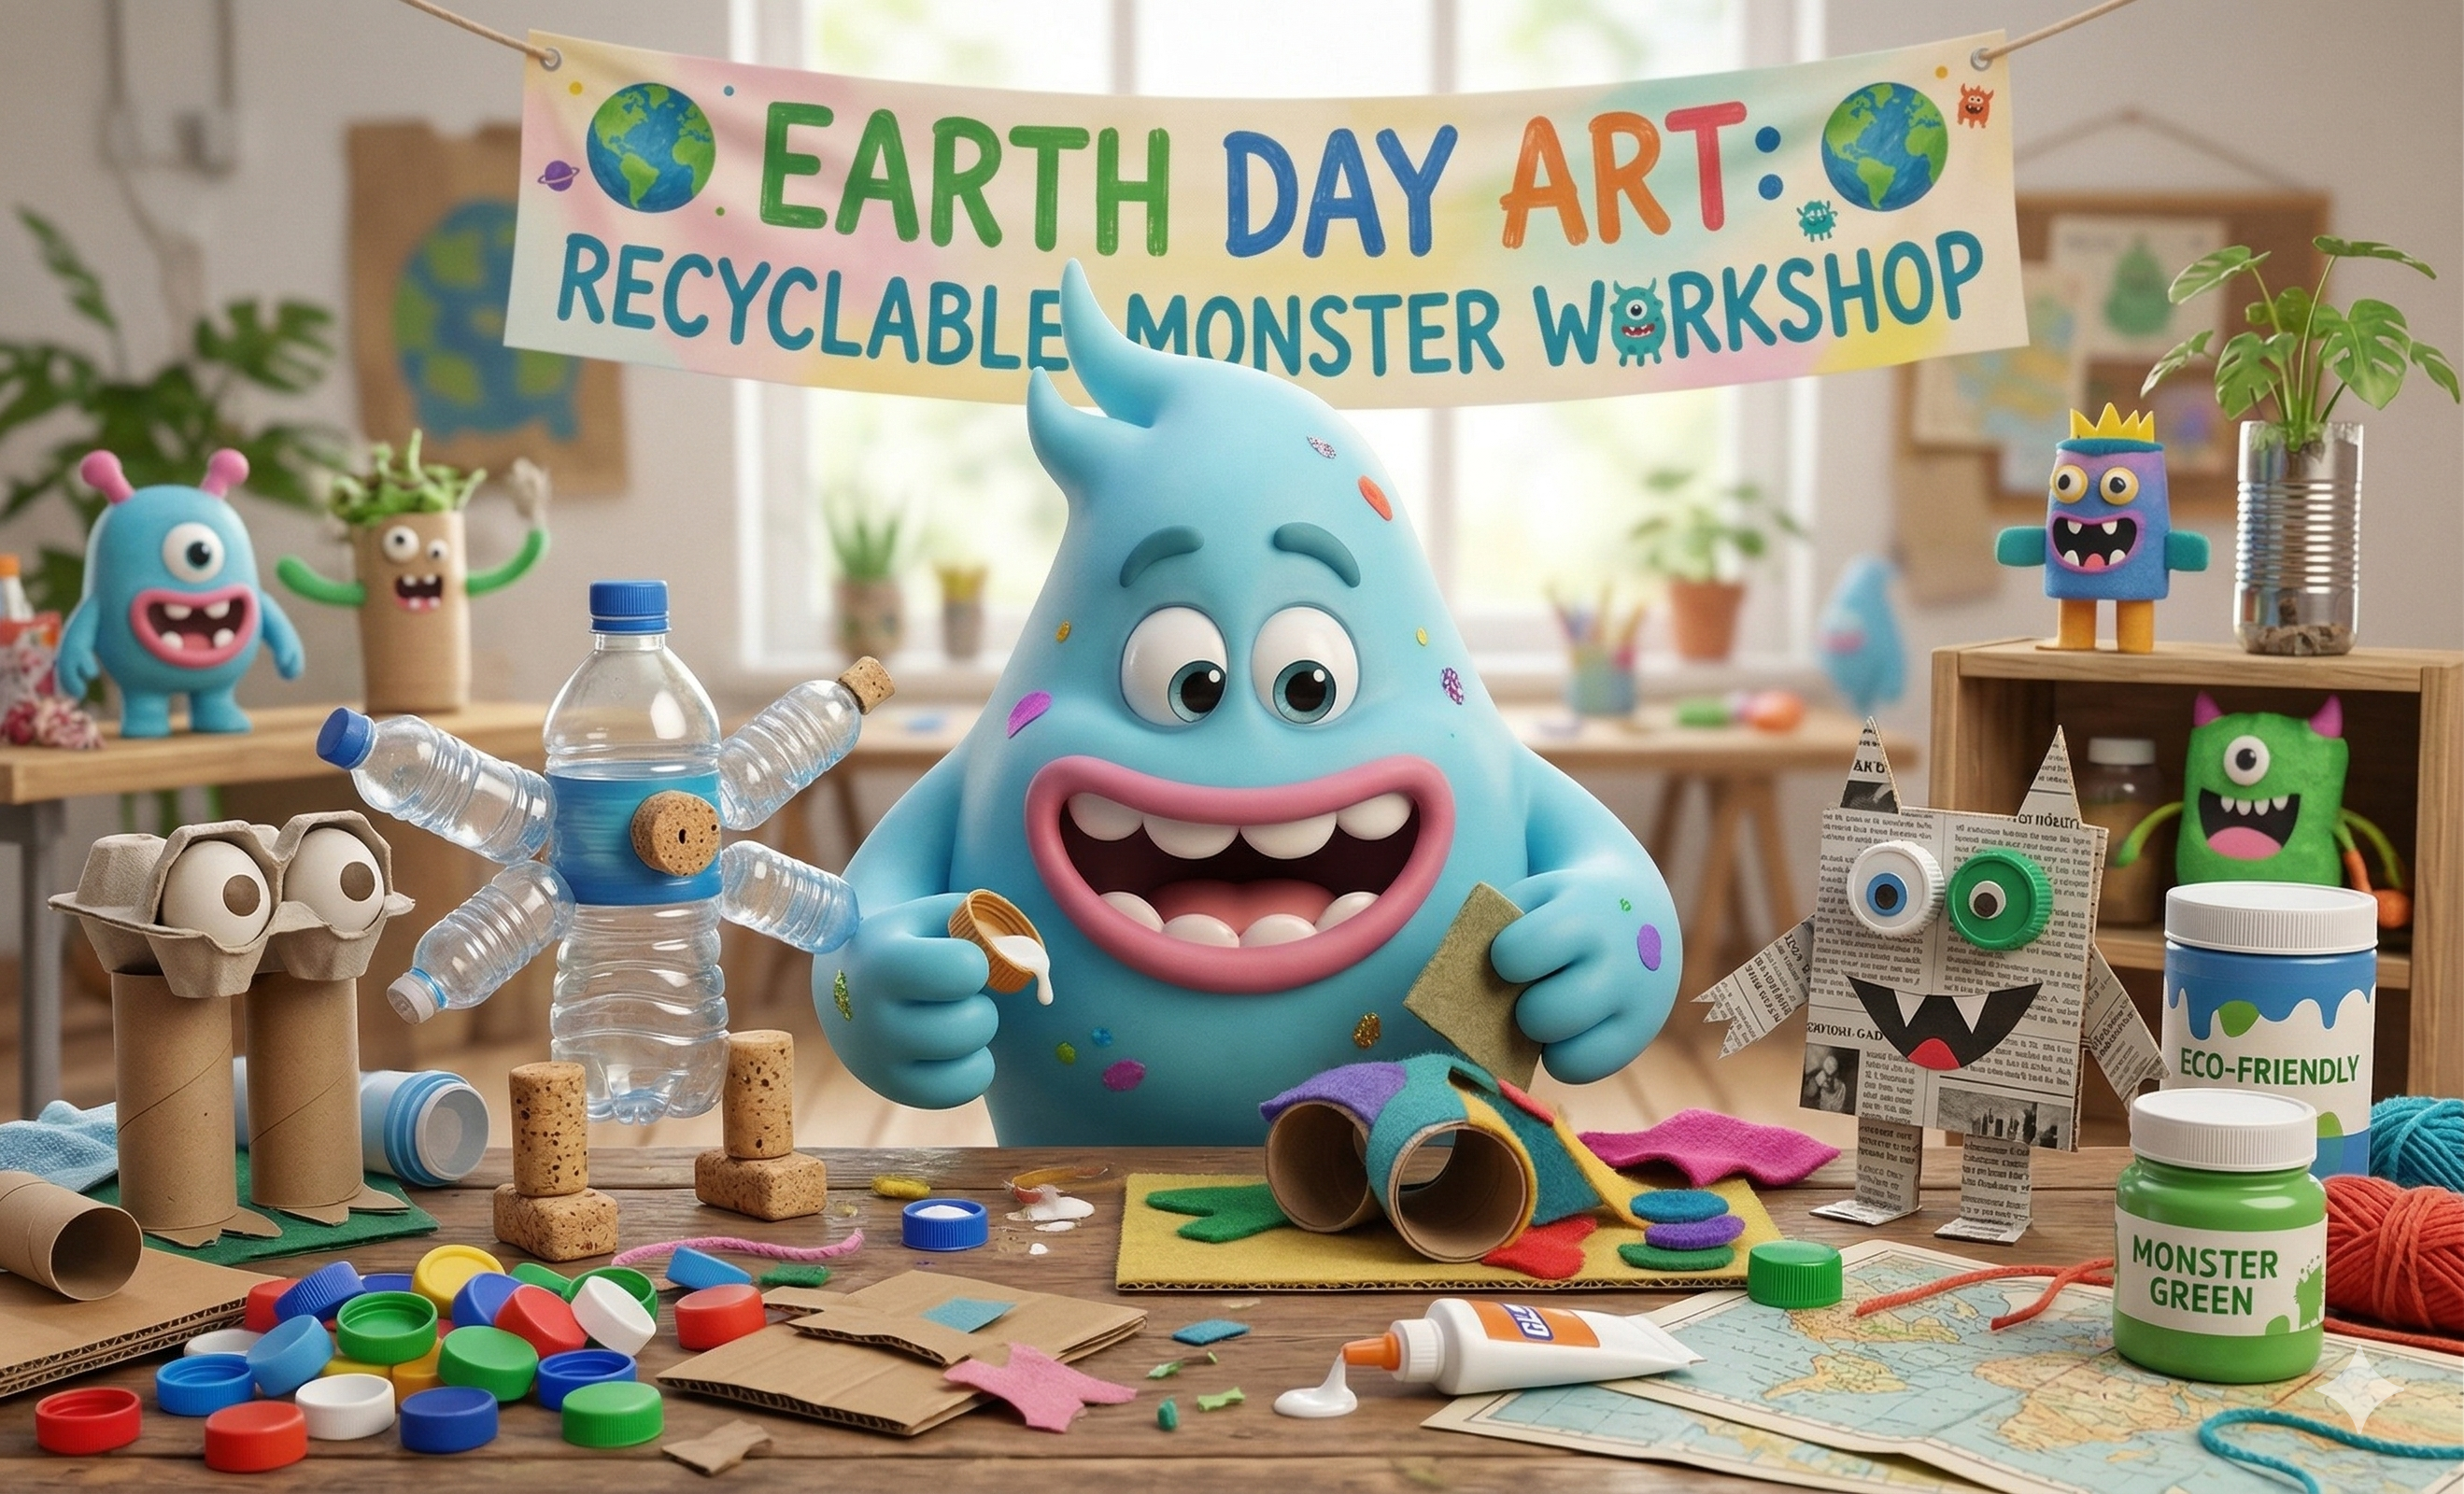
- Empty toilet paper or paper towel rolls (great for bodies or limbs!)
- Small cardboard boxes (like cereal boxes, tissue boxes, or snack boxes – perfect for sturdy bodies!)
- Clean plastic bottles (water bottles, milk jugs – awesome for unique shapes!)
- Plastic lids or bottle caps (for eyes, buttons, or feet!)
- Newspaper or junk mail (for crumpling, tearing, or sculpting)
- Egg cartons (individual cups can be eyes, teeth, or bumpy textures!)
- Art Supplies:
- School glue or hot glue (adult supervision for hot glue, please!)
- Scissors (child-safe scissors are best!)
- Acrylic paint or tempera paint (various colors!)
- Paintbrushes
- Markers or permanent markers
- Googly eyes (small, medium, large – the more, the merrier!)
- Construction paper or craft foam scraps (for ears, horns, wings, or extra details)
- Pipe cleaners
- Yarn, string, or ribbon scraps
- Fabric scraps or felt pieces
- Any other fun bits you find – buttons, glitter, feathers!
Step-by-Step Instructions
Ready to bring your recycled monster to life? Follow these steps with Fig!
-
Gather Your Monster's Parts! First things first, let's collect and clean our recyclables. Make sure all bottles and containers are rinsed out and dry. This is like finding hidden treasure that will become parts of your monster! Lay everything out and imagine: "Could this cardboard roll be a monster's arm? Is this plastic bottle a perfect monster tummy?"
-
Design Your Monster's Body! Now, let's start building the main shape. Pick a few of your larger recyclable items (like a cereal box, a toilet paper roll, or a plastic bottle) to be the core of your monster's body. Experiment with how they fit together. Will your monster be tall and skinny, or short and round? Use school glue to attach the main body parts together. For stronger bonds (especially with plastic), an adult can help with a hot glue gun. Let your glue dry completely – monster building takes patience!
-
Bring On the Color! Once your monster's body is sturdy, it's time to add some pizzazz with paint! Choose your favorite colors – maybe a bright green, a sparkly purple, or a rainbow swirl! Paint the entire surface of your monster. Don't be afraid to mix colors or add patterns. If you want a specific texture, try dabbing with a sponge or using a crumpled piece of newspaper. Let the paint dry completely before moving on.
-
Add Fantastic Features! This is where your monster really starts to get its personality!
- Eyes: Glue on googly eyes – one, two, three, or even twenty! You can also draw eyes with markers or cut them out from paper.
- Horns & Ears: Cut out triangles, spirals, or wacky shapes from construction paper or craft foam, and glue them to your monster's head. Pipe cleaners twisted into antennae make great monster feelers!
- Arms & Legs: Use pipe cleaners, smaller cardboard rolls, or strips of cardboard. Attach them to the body with glue. You can even use bottle caps for feet or hands!
- Hair & Fur: Glue on yarn scraps for silly hair, cotton balls for fluffy fur, or strips of fabric for a shaggy look.
- Teeth & Mouth: Cut out sharp, silly, or goofy teeth from paper and glue them inside a drawn or cut-out mouth.
- Extra Details: Use markers to draw spots, stripes, or scales. Add buttons, glitter, or any other fun embellishments you have!
-
Give Your Monster a Name and a Story! Your recycled monster is now complete! Every monster needs a name, right? Think of a fun, quirky name that fits its personality. Is it Gloop the Green, Sparkle-Horn Sally, or Boxy Bob? What does your monster like to do? Where does it live? Share its story with your family and friends.
Great job, creative monster makers! You've not only created an awesome new friend, but you've also helped our Earth by reusing materials. That's a super monster-sized accomplishment! Keep on creating, and I'll see you next time! Roar-some fun!
Ready for another adventure?
Back to Creation Station

