Creation Station
Go Green: DIY Nature Art Projects
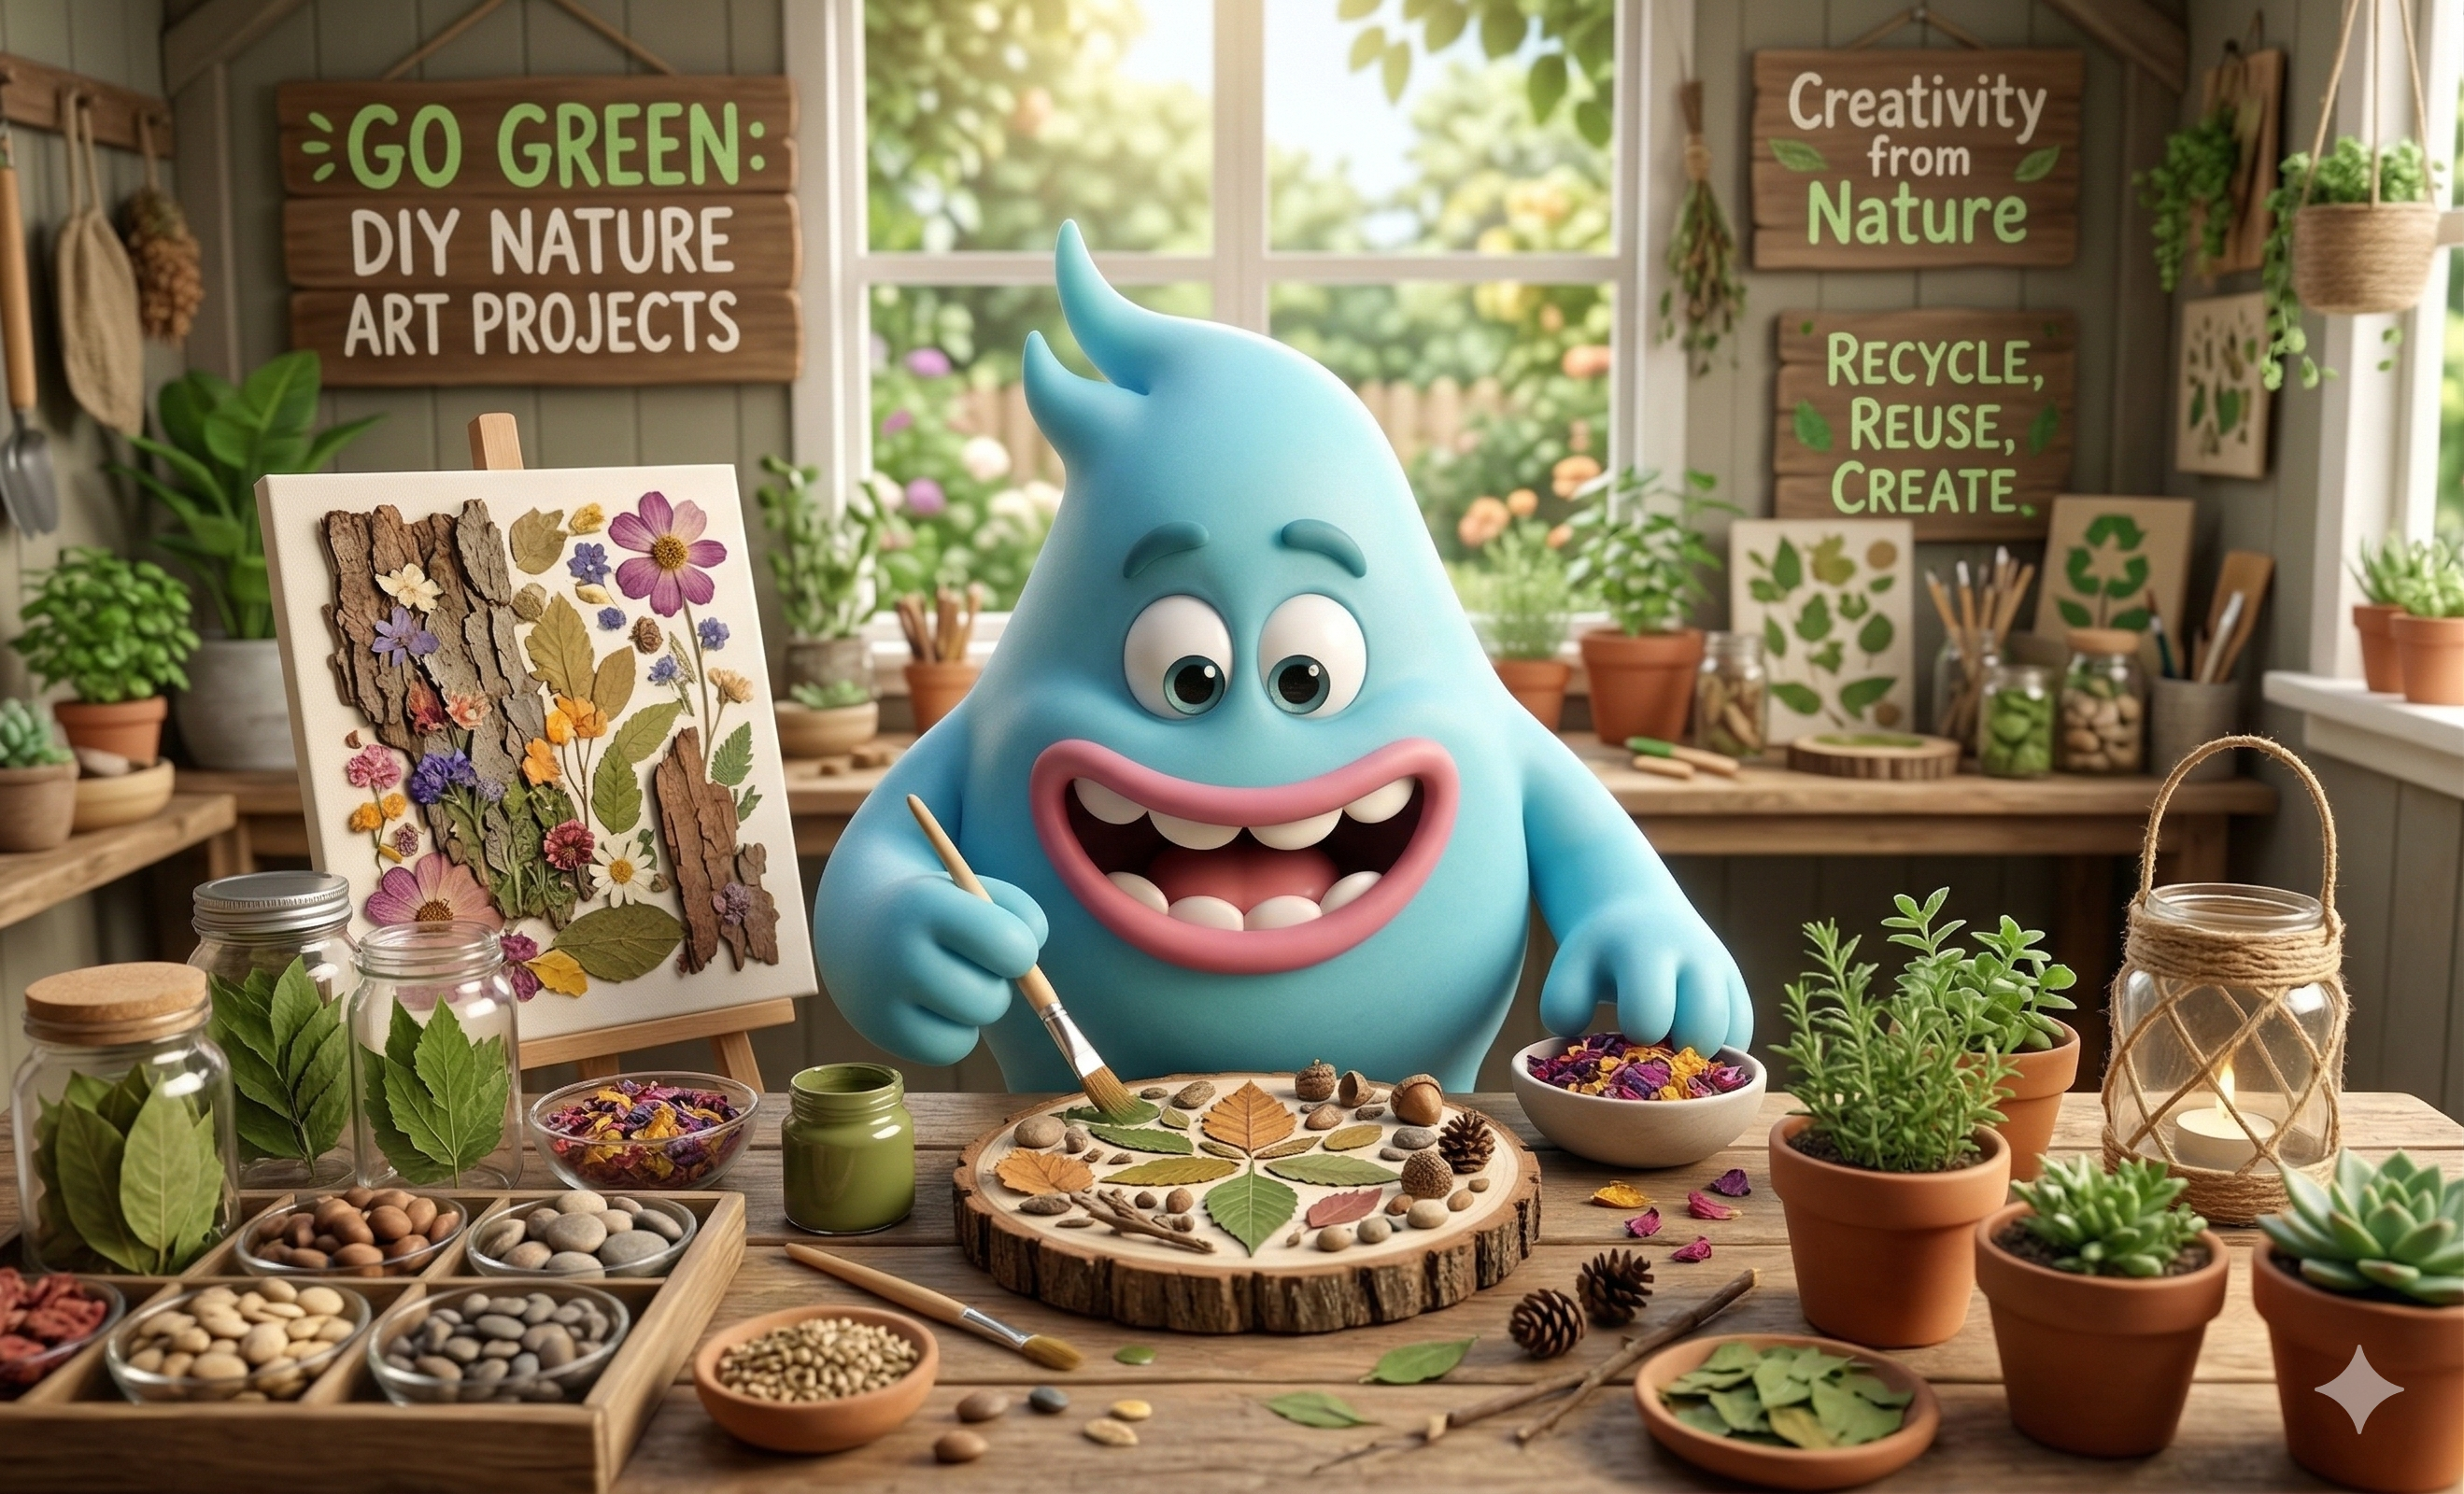
Hello, creative monsters! It's me, your friendly blue art guide, ready for another amazing adventure! The sun is shining, the birds are singing, and nature is calling! This Earth Day (or any day you want to celebrate our beautiful planet!), let's get outside and create some super cool art using treasures we find in our own backyards, parks, or even just on a walk down the street. We're going to make a beautiful Nature Collage! It's a fantastic way to appreciate all the wonderful things nature gives us, and turn them into a masterpiece. Ready to go green and get creative?
Materials Needed
- A sturdy piece of paper or cardboard: This will be the base for your collage. Cereal boxes work great if you cut them flat!
- School glue (PVA glue) or a glue stick: Enough to stick all your nature treasures down.
- Natural treasures! Go on a scavenger hunt and collect things like:
- Fallen leaves (different shapes, sizes, and colors!)
- Small twigs or bark pieces
- Pretty petals from fallen flowers
- Interesting seeds (like maple "helicopters" or acorns)
- Small, smooth pebbles
- Feathers (if you find any clean ones!)
- Pieces of grass or ferns (Remember to only collect things that have fallen naturally and aren't attached to growing plants! We want to be kind to nature.)
- Optional: Crayons, markers, or paints to decorate your background before adding nature items.
- Optional: A tray or small containers for sorting your collected items.
Step-by-Step Instructions
- Go on a Nature Hunt! Grab a bag or a basket and head outside with a grown-up. Explore your backyard, a local park, or even just your sidewalk. Look for all sorts of interesting fallen natural items. What textures do you see? What colors? Gather a variety of leaves, twigs, petals, small stones, and anything else that catches your creative eye! Remember, we're only picking up things that have already fallen to the ground, so we don't hurt any growing plants.
- Prepare Your Canvas! Bring all your nature treasures inside. Lay out your sturdy paper or cardboard. If you want, use crayons, markers, or paints to create a colorful background for your collage. Maybe draw a sky, a forest floor, or just swirl some happy colors around! Let it dry completely if you used wet paint.
- Arrange Your Treasures! Before you glue anything down, play around with your collected items. Arrange them on your paper in different ways. What kind of picture do you want to make? Maybe a leafy monster? A colorful abstract design? A nature scene? Experiment until you find an arrangement you love. This is where your creativity truly shines!
- Glue Them Down! Once you're happy with your arrangement, it's time to make it permanent! Pick up one nature item at a time, put a good dab of glue on the back (or use your glue stick), and press it firmly onto your paper in its chosen spot. For bigger items like twigs, you might need a bit more glue. Be careful with delicate petals!
- Let Your Masterpiece Dry! When all your nature treasures are glued down, find a safe, flat spot to let your collage dry completely. This might take a few hours, or even overnight, depending on how much glue you used.
- Display Your Earthy Art! Once it's super dry, your beautiful Nature Collage is ready to be admired! Hang it on your wall, give it as a gift, or simply put it somewhere you can see it and remember your wonderful nature adventure. You've just turned nature's gifts into amazing art! High five, creative monster!
Ready for another adventure?
Back to Creation Station